Create Your Own Traffic Signal Status Lamp with Adafruit Flora, Neopixels, and Python
I’ve written in the past on how to roll your own server status monitoring with pre-built hardware. But what if you want to build your own indicator light? Thankfully, the arduino platform makes this incredibly easy. Here’s what you’ll need for the build:
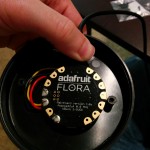
- Adafruit Flora – $25
- Flora Neopixels – $8
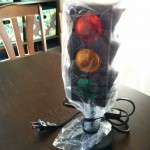
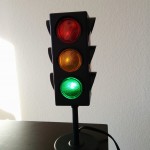
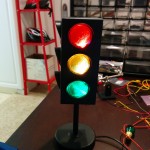
- Traffic Signal Lamp – $12
- Mini-B USB cable
- Wire
- Wire strippers
- Wire snippers
- Pliers
- Phillips screwdriver
- Isopropyl Alcohol (optional)
- Hot glue (optional)
- Soldering iron/solder
If you’re looking to cut costs I bet there’s an arduino compatible board with usb to serial for less, but I found the Flora form factor worked nicely. Additionally, you can consider just using a red, yellow, and green LED on three separate pins on the arduino instead of the more expensive, addressable neopixels.
Modding the Traffic Signal Lamp
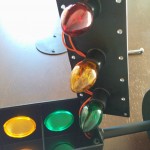
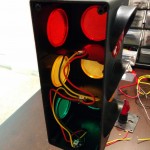
The reviews for this lamp are not great. Several reviewers note that the lights arrived burnt out, and I also found that to be true. However, because we are gutting the insides it doesn’t matter much. This was the cheapest case that I could find.
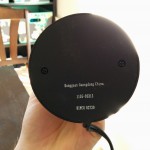
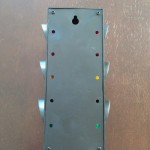
The design of the lamp is actually quite suited for our purposes. Both the base and the back use standard screws and make disassembly a snap.
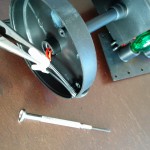
- Grab your trusty phillips screwdriver and remove the screws from the base and the back of the lamp. A small piece of tape on the desk works nicely to insure that none of the small screws roll away.
- The lamp bulb wires run down through the stem into the base. Disconnect the wire caps by squeezing your pliers in the opposite direction of the crimp. Once the wires are exposed you can simply pull them apart.
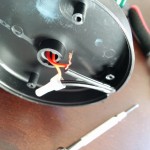
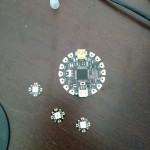
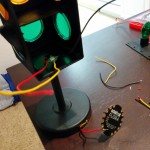
- Cut off some lengths of wire and connect the Flora’s vbatt, gnd, and d6 pins. You then connect the pixels in a similar fashion to this diagram.
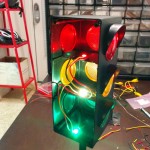
- Once you are certain that your connections are sound (load some demo code on the Flora and try them out!), you can hot glue them down to the shelf for each light level in the lamp.
- At this point you should feel free to gently route the wires in the base and align the usb cable with the pre-existing hole, and then close things back up.
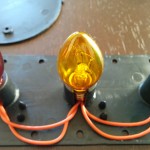
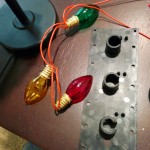
- Now remove the existing bulbs from the back plate of the lamp. I found wiggling the bulbs was enough to get them loose, but if you have issues try using some alcohol to dissolve the glue.
- Once you’re confident everything is working and wired up correctly, replace the back plate of the lamp.
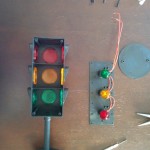
Congratulations, you’re finished with the hardware!
Add Useful Software
A light-up lamp is cool, but wouldn’t it be great if it responded to your commands?
I’ve gone ahead and written some code so you don’t have to! Flash the .ino file to your Flora, and then use the python utilities to try out your new lamp.
The lamp is programmed to blink until it receives instructions over the serial connection. The lamp will time out and blink again if it doesn’t hear anything over serial for a half hour.
You can pass multiple parameters if you wish, such as –red and –green to light up the red and green lights only. The utility will serialize your commands and transmit them to the Flora.
Gallery
This Post Has 0 Comments